Note: This works when viewing YouTube videos over a WiFi connection. If you’re using a cellular data connection, Google still automatically controls the video quality.
Change Video Quality of YouTube Videos on iOS
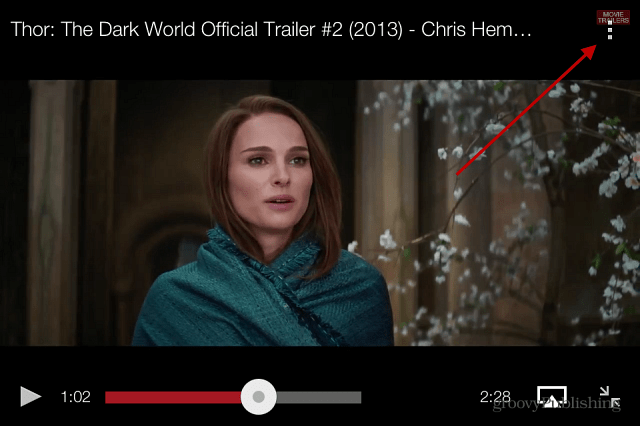
First make sure you’ve updated to the latest version of the YouTube app for iOS – it’s version 2.2.0 at the time of this writing. Then when you start watching a video, tap the settings icon at the upper right corner of the video playback controls.
Next you’ll see three options, for captioning and subtitles, flagging the video, and the gear icon to change video quality – tap the gear.
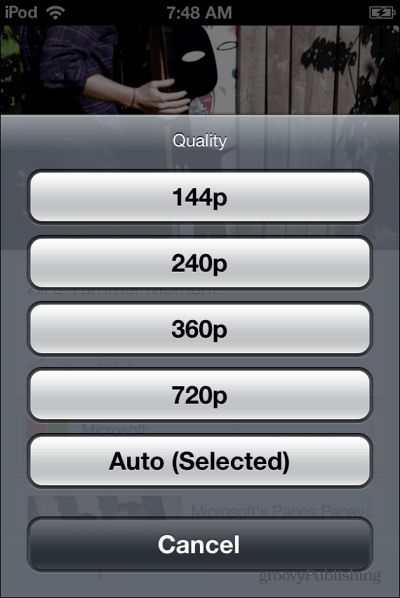
Then you’ll get the following menu which shows the current quality that the video is playing at, and the different quality settings that are available. Just tap the video quality you want to change the video to.
Basically this feature is what has always been available on YouTube in your browser on your computer. This doesn’t make the video quality the default across the board – each time you pull up a new video, it will be set to Auto by default. Comment Name * Email *
Δ Save my name and email and send me emails as new comments are made to this post.


