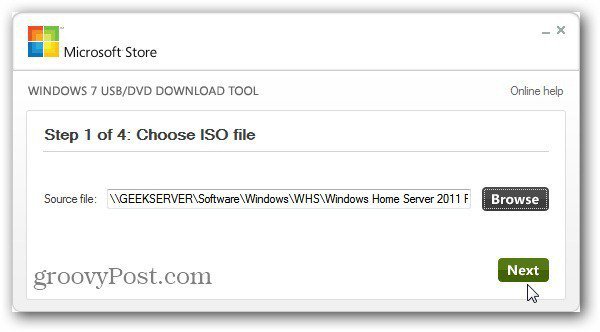
First you’ll need a an 8 GB flash drive. The ISO is larger than 4GB. Then download and install the Windows 7 USB/DVD Download Tool. Start the USB / DVD Download Tool and browse to the location of your WHS 2011 ISO file. Click Next.
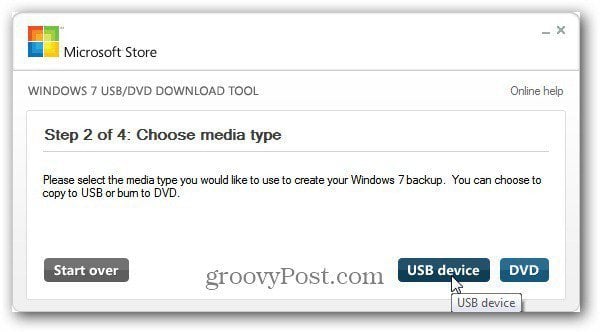
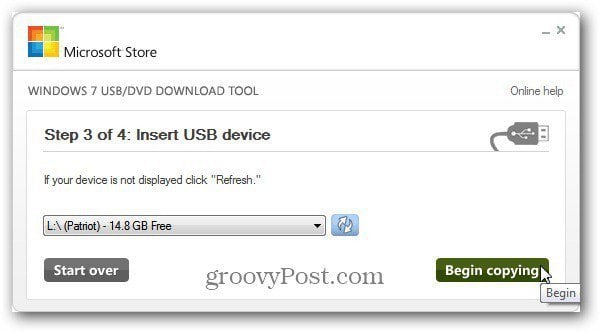
Next for Media Type, click the USB Device button. For the next step choose the flash drive you’re using to install WHS 2011. Click Begin Copying.
Now the USB Download tool will start. It will format the flash drive first, the copy the ISO files over. Wait for the process to complete. The amount of time it takes will vary between systems.
Success! The WHS 2011 Bootable USB Flash drive is ready to use. Close out of the utility.
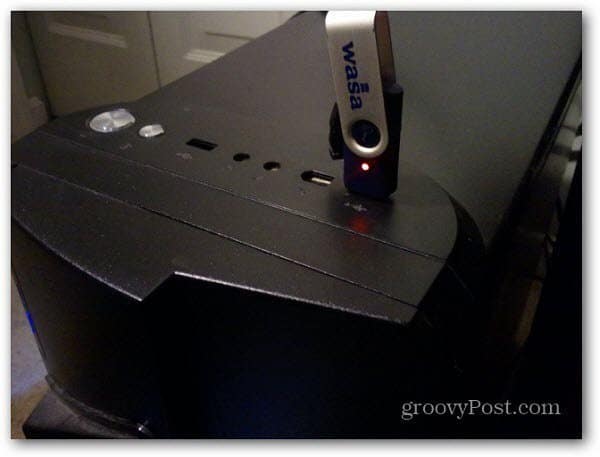
Remove the bootable flash drive you just created, and plug it into an available USB slot on your home server.
When you turn on the server, go into the BIOS and make sure it’s set to boot from a USB drive. Then start your server and go through the Windows Home Server 2011 installation.
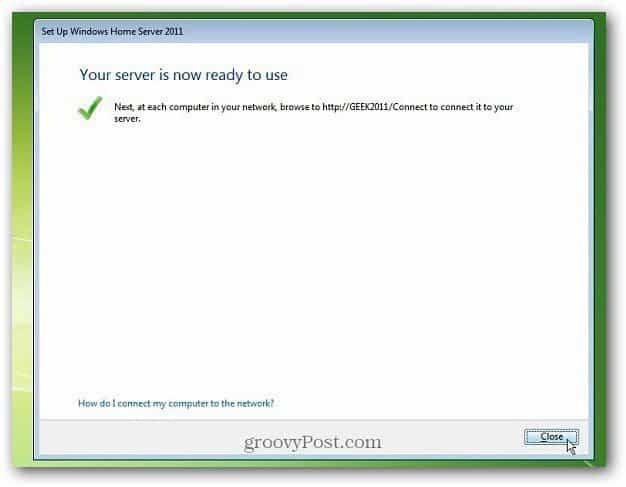
Note: I installed WHS 2011 on an HP ProLiant Micro Server with the bootable USB flash drive. After the screen below, the server reboots the first time. I had to press F10 to enter the BIOS and make the hard drive the first boot device.
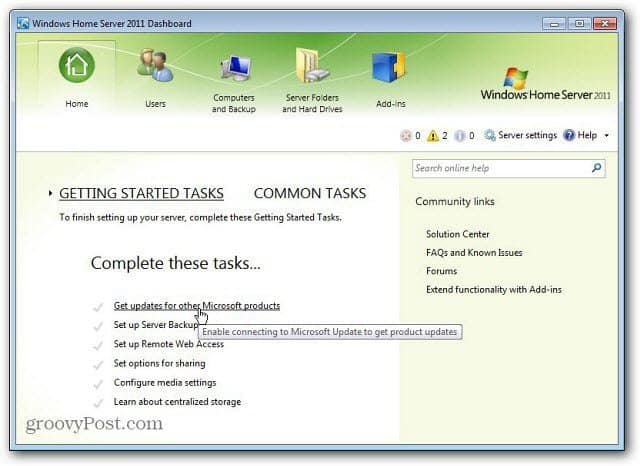
Once the installation is finished, set up the server and install your first client computer on your network.
I got mine from my Technet Subscription.
- RDP into your WHS 2011 server and create a folder on your WHS 2011 desktop 2. download and save the MSE file (64 bit) into the folder 3. hold the shift key down and right click the folder and select “Open command window here” 4. in the command window, type “mseinstall /disableoslimit 5. done Comment Name * Email *
Δ Save my name and email and send me emails as new comments are made to this post.
