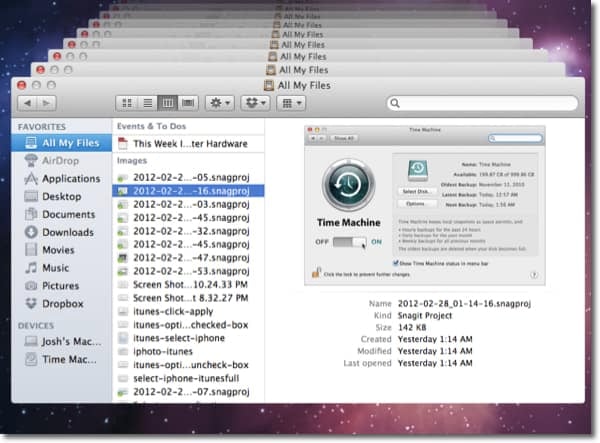
Here’s how to make sure your data is safe without having to remember to manually do it.
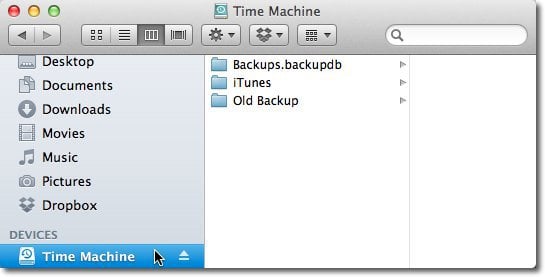
First find and plug in an external drive that you’d like to use for Time Machine. Get the largest drive you can afford. If you’re going to be using the entire drive for back up, it’s a good idea to rename the drive Time Machine so it’s easily recognized in Finder.
Now open System Preferences and click on Time Machine under the System category.
Click the slider switch to turn Time Machine on.
When you turn Time Machine on, a window will drop down asking which drive to use. Select the drive, and check the box to Encrypt Backup Disk. Then click Use Backup Disk.
Enter a password to encrypt the data on the disk. We told you how to create a secure password you can actually remember in a previous article. After inputting your password, Click Encrypt Disk.
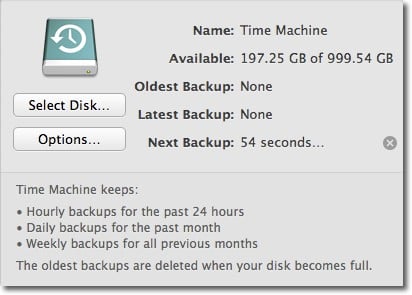
Your first backup will begin shortly. This will be the biggest backup and take the longest. As shown below, once the initial backup is complete, Time Machine will keep Hourly backups for the past 24 hours, Daily backups for the past month and Weekly backups for all previous months.
Now Time Machine is set up to backup your drive. This only takes care of backing up your system to a local drive, though. You still need to set up an off-site solution. The off-site backup solution I use is Carbonite. For just $59 per year, this service will automatically upload everything on your internal drive to their servers regardless of how big your computer’s drive is. Go to Carbonite.com and click the Try Home Free button to start a 15-day free trial.
Fill out the form and click Start My Free Trial Now. Note: You can get offer codes for bonus time using the service from various tech podcasts. If you don’t know of one off the top of your head, check RetailMeNot.
Click the Install Now button to install the Carbonite software that will perform the backup.
This will download the install package to your downloads folder. Click the package icon.
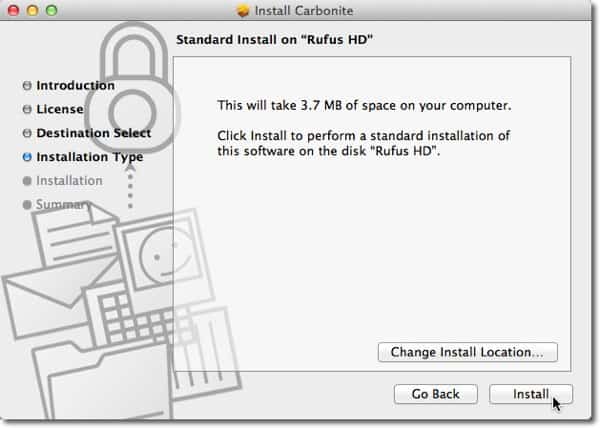
Click Continue through the setup process, and click Install to perform a standard installation.
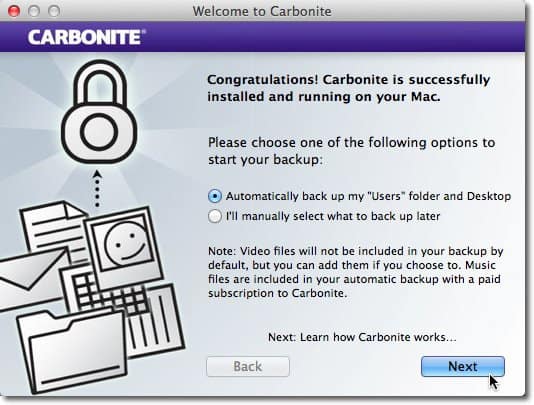
Carbonite will automatically start when the installation is complete. Wait until you get the screen below, leave the default option selected, and click Next.
Click Next through the next couple of screens, and then click Done.
Carbonite preferences will opens. It will automatically backup all of your Mac’s user folders with the exception of music files until you upgrade from the free trial to a paid subscription. Video files are excluded by default, but you can include them later.
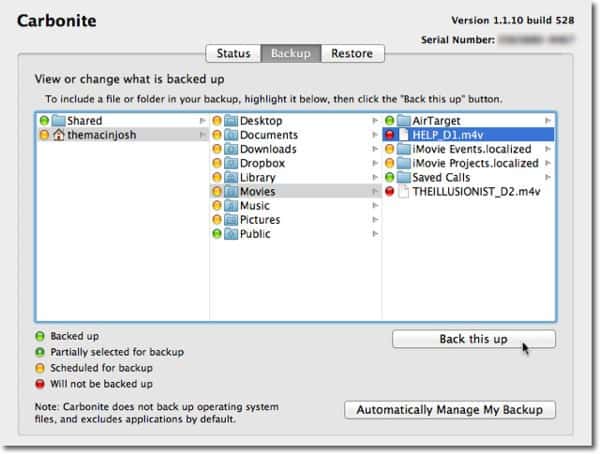
To manually choose to backup video files, click the Backup tab, and navigate to the video files you want to include.
Click Back this up, and it will include that video file in the backup. The initial backup could potentially take days…even weeks. The amount of time the initial backup depends on how much you have stored on your drive. After the initial backup, it only backs up the changes you make. It’s much faster than the initial backup. Now you have access to files you accidentally delete. With Time Machine, it’s easy to restore files. Just launch Time Machine from your Applications, and click the arrow to go “back in time”. You can also restore individual files with Carbonite by logging into its website wherever you have an Internet connection. You can even access your files with the free Carbonite app on iOS, Blackberry, and Android. Now your data is backed up in two separate places — Your local drive and in the Cloud. Your files will be backed up locally in case of a hard drive failure on your internal drive, and remotely in case of theft or a natural disaster where both copies of your files could be lost. The best part is once your backup strategy is set up, you don’t have to remember to do anything. It all happens in the background. Comment Name * Email *
Δ Save my name and email and send me emails as new comments are made to this post.
![]()
