When you want to bring back something to the way it was, the undo key works. But, if you really want to do it with style, that is where the History brush key comes into play. With the history brush you can draw in the original state of an image, one brush stroke at a time. With the use of some unique brushes, you can add some groovy effects to the image as well. This article is part of the groovyPost Teaches Photoshop Basics series.
Video:
Step 1 – Open An Image
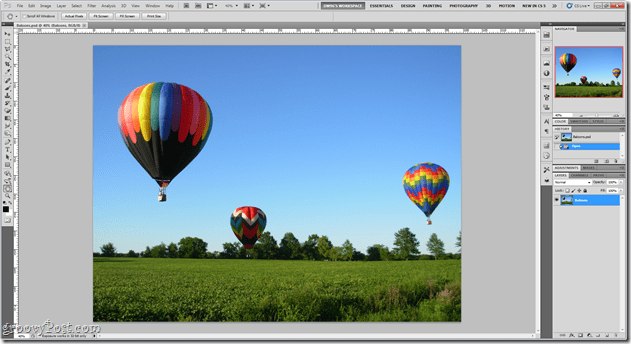
Just like in the last tutorial, we’ll need to start off with an appropriate picture. For this one I will go with the hot air balloons you saw before.
Step 2 – Make Some Changes To The Image
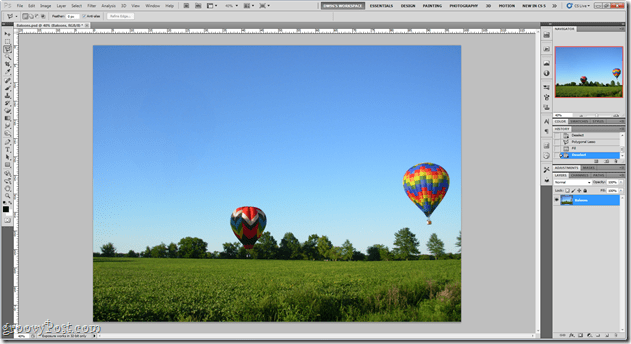
Now let’s make some changes to the image. For instance, I will remove the big balloon using the content-aware fill that we used in the previous tutorial.
Step 3 – Select A History Brush Source
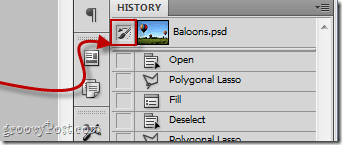
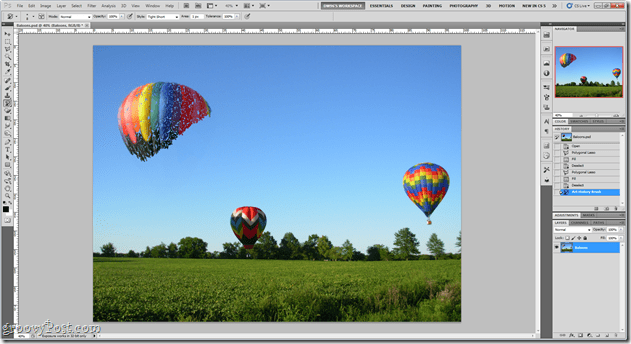
Go to your History Panel and find a step where the balloon (or whatever object you edited or removed) still existed and click on the small square in front of that step to select it as a History Brush source.
Step 4- Use The History Brush Tool
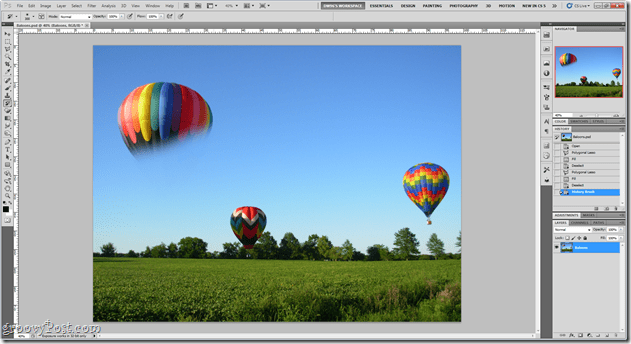
Now pick up the History Brush Tool and simply start painting over the are where the balloon (or whatever object you removed or edited) was located. You will see that the object will start to re-appear at the areas where you paint over.
Step 4- Using The Art History Brush Tool
First of all, press Ctrl+Z to roll back to the previous state of the image (before you used the history brush tool).
Now pick up your Art History Brush Tool and do the same as we did with the regular history brush tool – simply paint over the area of the object. The results will be amazing. (Quick Tip – experiment, with the Style drop-down menu at the top to find out which effect works best for you):
That’s it now you know one more key technique to use when working with Photoshop. Stay with us for even more Photoshop tutorials and tips! Comment Name * Email *
Δ Save my name and email and send me emails as new comments are made to this post.

