While creating a Restore Point manually is recommended, you might forget to do it. The good news is you can make Windows 11 create one automatically using the System Protection feature. This feature is like System Restore, and you can enable it via the Settings app or by using Windows PowerShell. We’ll explain how to enable System Protection for drives on Windows 11 below.
How to Enable System Protection on Windows 11
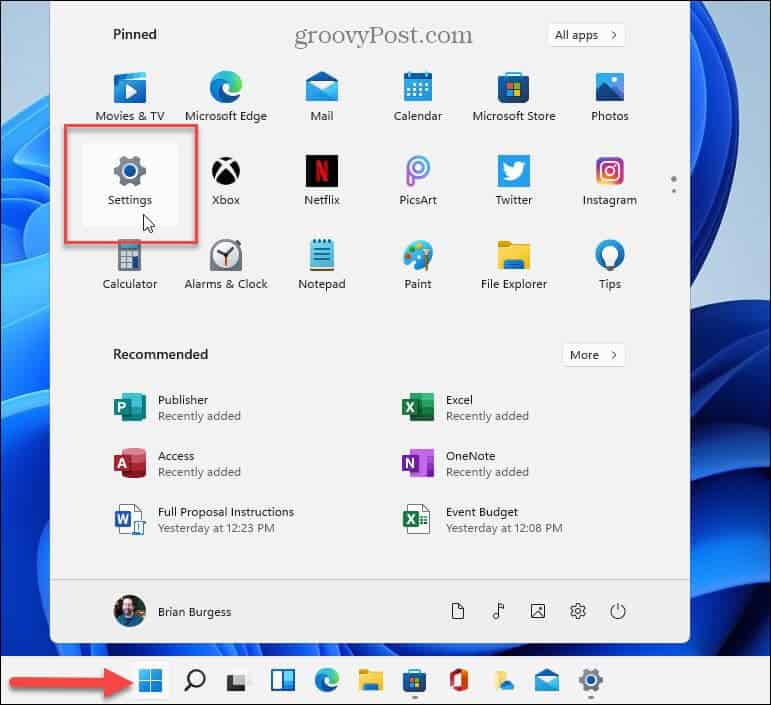
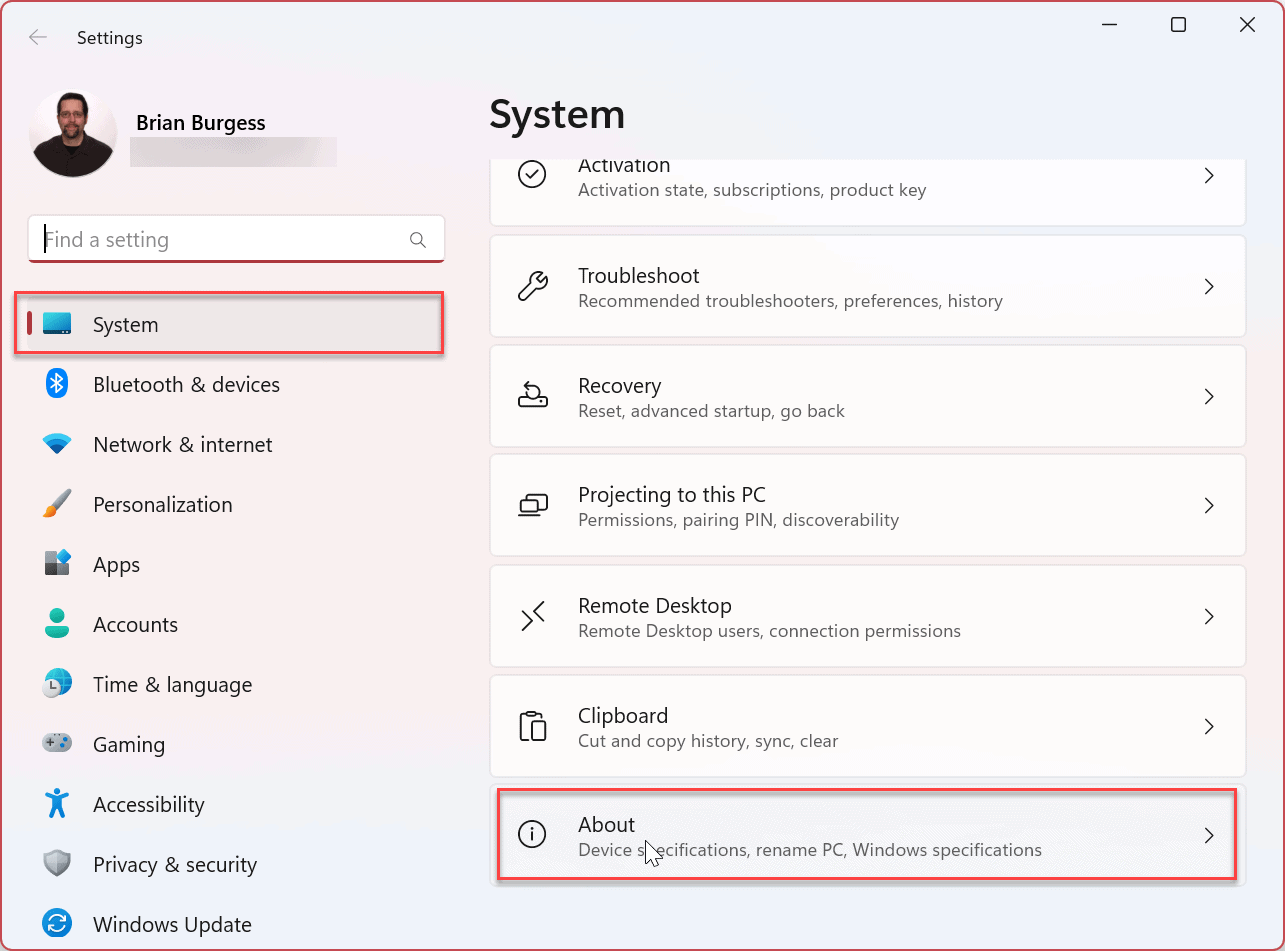
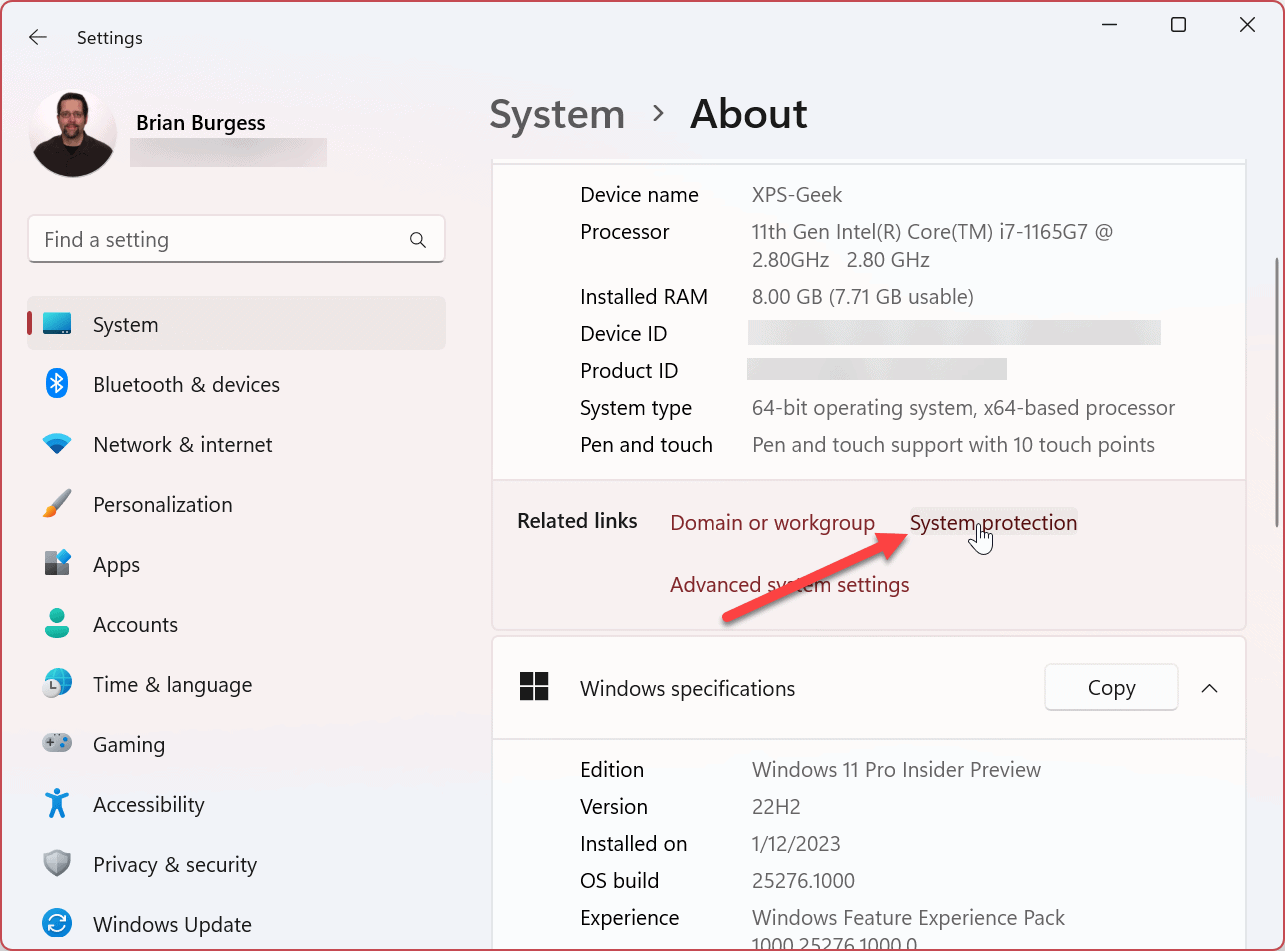
There is a couple of ways to enable System Protection for drives on Windows 11. The first is through the user interface, and the other is using the PowerShell terminal. We’ll cover both starting with the Windows 11 UI. To enable System Protection for drives on Windows 11: Note: In this section, you can also adjust the amount of disk space used for system protection by moving the slider. When the max space is reached, Windows will delete old Restore Points to make room for new ones.
How to Disable System Protection on Windows 11
If you want to disable System Protection, you can. The process is essentially selecting the option to turn it off and clicking a verification message. To disable system protection on Windows 11:
How to Enable System Protection on Windows 11 Using PowerShell
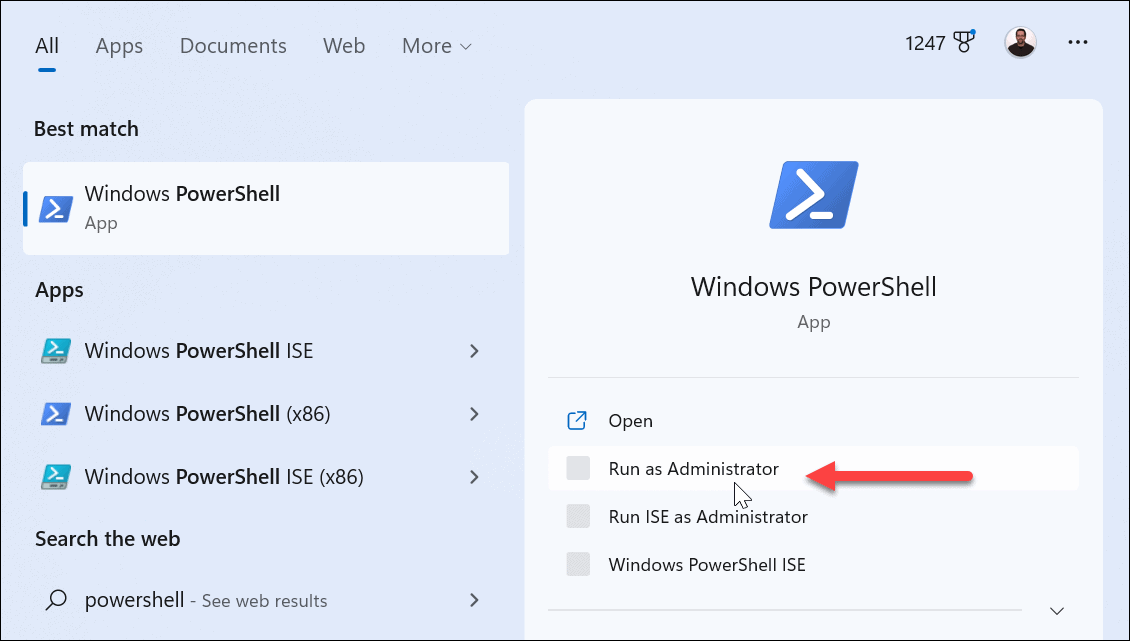
In addition to using the graphical user interface to enable system protection for drives on Windows 11, you can also use PowerShell. The process is straightforward by running a single command. You can also use the newer Windows Terminal for these steps. To enable System Protection via PowerShell: After using the steps above, System Protection will be turned on or off (depending on the command) on your system. Remember that when using the terminal, no verification messages will appear (except UAC if enabled). The action will just be complete. However, you can verify the command works by navigating to System Protection via the GUI. If you want to add system protection to a different drive, run the same command but replace C: with the drive letter to protect.
Protecting Your Data on Windows 11
System Protection or System Restore in Windows 11 protects your data and computer by backing up system settings and data during major system changes like software installations or feature updates. You can use the steps above to help you get started. In addition to file backup solutions like syncing files to OneDrive or a third-party option like Backblaze, there are other ways to keep your system files protected on Windows 11. For example, you can create a full system image backup and use it to recover your computer. Another built-in file recovery feature that you can use is File History on Windows 11. And if you need to start over and reinstall Windows 11, you can use the Reset this PC feature. It’s also worth noting you can help secure your data by encrypting files and folders and removing personal information from files. Comment Name * Email *
Δ Save my name and email and send me emails as new comments are made to this post.


![]()
