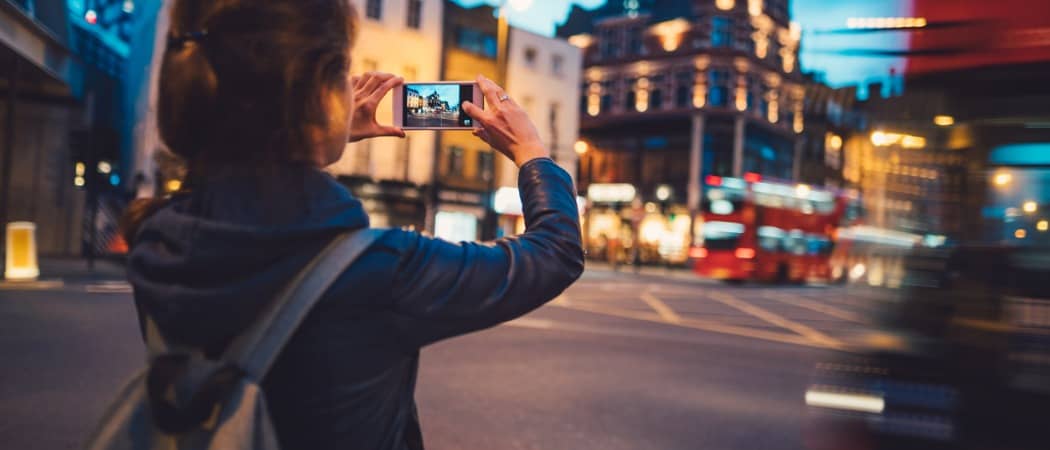
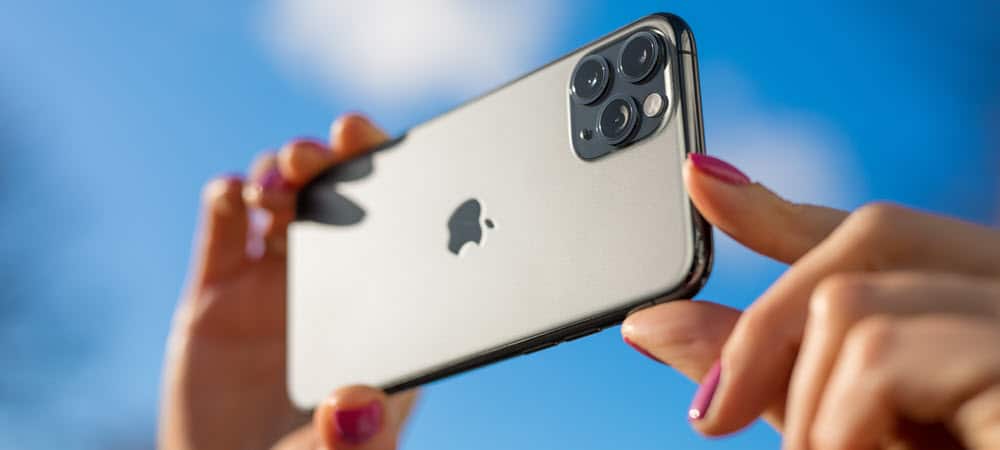
Notice I didn’t say 1.7 trillion good photos. I’m sure you know what I’m talking about… Just because we all carry a camera in our pocket and take a few dozen photos a day doesn’t make us good photographers. This takes knowledge of photography, your camera, and practice! In the past, we’ve published several tips on how to improve your photography skills, and today we’re going to dive deeper and review a few things you should bear in mind if you want to take better photos with your iPhone. Be aware that I am not a big professional myself, so this is only what worked for me. The iPhone’s built-in camera is very good but also limited in some ways. I will write an article on better iPhone camera apps soon, but here’s a nice overall guide reviewing what’s possible using your iPhone.
Take Better Photos With Your iPhone Camera
As you will see below, there are some things to think about before you even get to snap the picture.
Decide How You Are Going To Press The Shutter
There are two ways to snap a picture on your iPhone. The first way is the usual way. By pressing the white circle at the bottom of the camera screen.
But did you know you can also take photos using the volume buttons on the left-hand side of the phone? This method may be easier for some photos, especially selfies and landscape photos. In those kinds of photos, your fingers tend to get in the way.
Bonus tip: If you plug the iOS earphones, you can also use the volume buttons on the cable to snap photos.
Zoom In & Out
To get the best picture possible, focus the attention of the photo on the subject you’re trying to capture. This means zooming in and out. I mean, what’s the point of taking your wife’s picture if she is surrounded by a forest which drowns her out? There are two ways to zoom in on an iPhone camera. The first is to zap the screen once and drag your finger along the bottom of the screen. This brings up a horizontal line and a yellow circle. The second way is to place the tips of your index and middle fingers on the screen and then move your fingers away from one another. To zoom in, move the fingers closer together.
Adjust The Lighting
The next step is to get the lighting right. I tend not to use the flash so much as it gives me pretty crappy pictures. So I rely on the exposure filter a lot. You can access the exposure filter by tapping once on the screen, and a yellow square will appear on the screen.
Move the square with the tip of your index finger to the part where you want to apply light (or slightly less). Then run your finger up and down the vertical line on the right. Moving your finger up applies more light. Moving your finger down makes it darker. Although sometimes it’s not necessary for you to do anything as the iPhone automatically adjusts the brightness of what you are pointing the camera lens at. But for times when it’s not quite right, you may need to step in with your finger.
Portrait, Landscape, Square, Or Panorama?
Next, you’ve got to decide what type of picture you want to take. The iPhone camera gives you several options along the bottom of the screen.
The “Photo” option will give you the full screen to take your picture. The “Square” one is self-explanatory and seemingly good for photographing people. The panorama option gives you the chance to make a wide shot. Unless you are taking a picture of a person or an object, do not use Portrait mode (holding the phone upright). It’s called ‘portrait mode for a reason! Landscapes should be done using….wait for it….the “landscape mode” (turning the phone and holding it length-ways). This is especially true when taking videos. Nothing drives me crazier than watching a movie in Portrait mode. Making a widescreen panorama mode picture is actually quite difficult, and after 6 years of using an iPhone, I still haven’t got the hang of it. After choosing “pano” mode, a slider will appear on the screen. Press the button, then slowly move from left to right. Then press the button again to finish the photo. The key is keeping things very steady, following the instructions on the phone, and going slow. Trust me, it will take some practice to master it.
Shoot In Burst Mode To Get The Right Shot When Things Are Fast Moving
Have you ever wondered why a paparazzi photographer rapid-fires their camera and takes hundreds of photos? Simply because getting the right one is difficult. You can’t take one photo and hope for the best. It might be blurry, or the person might have their eyes closed and their mouth wide open.
But if you take hundreds of photos, you can sift through them, choose the best ones, and delete the rest. This is the purpose of the “burst mode” on the iPhone. Simply hold your finger down on the shutter button, and you will hear rapid shutter noises. When you think you have enough photos, release your finger from the shutter button, and the photos will all be grouped together for easy sifting. Once you have chosen the ones you want, you can easily tell your phone to delete the rest.
Switch Off Live Photos
I’ve never seen the point of Live Photos. It’s almost as if Tim Cook watched the Harry Potter movies, saw the moving photographs, and thought, “I want that on the iPhone!”. Basically, when you take a photo, the phone also takes a few seconds of video before and after the shot. It’s supposed to capture “candid moments”. Call me a party pooper if you want, but I think it’s plain stupid. If you want to switch it off (and I recommend you do), just tap the yellow logo at the top of the camera screen. It will now tell you the Live Photo feature is off.
Use a Tripod To Keep Your Camera Still Or Tuck Your Elbows In
I have epilepsy, so my medication means my hands are constantly shaking. This is bad if you are taking photos. To paraphrase Yoda the Jedi Master, “shaking cameras leads to photo blurriness. Photo blurriness leads to ruined photos. Ruined photos leads to hate from the wife”.
Use The Timer Mode
If everybody wants to jump into a photo, or if you want to do a selfie (but adjust your makeup first), then the timer mode is what you need. Everybody knows the timer mode. Choose how many seconds you want before the picture is taken, run in front of the camera (this is where the tripod comes in handy), and you have your picture when the countdown is done.
Tap the timer icon in the top right-hand corner and choose how many seconds you want (3 seconds or 10 seconds). The phone does the rest.
Try HDR Mode – But It Doesn’t Always Work
HDR stands for High Dynamic Range, and it can be turned on by going to Settings > Camera >HDR. Make sure you turn on the option to keep the original photo too. HDR is an option for when you’re trying to take a photo in dark conditions.
HDR is when the camera takes three different versions of the image and merges them together to show more detail when you have a dark background. Sometimes HDR works, and sometimes it doesn’t, which is why you should always keep the original photo, just in case. HDR merely gives you other versions of the photo to choose from.
Turn On Grid Mode
You can make your photos look much better by turning on a grid that will appear on the camera screen. Just go to your Settings > Camera and flip the switch to turn on the grid.
Now with the grid appearing on your camera screen, you can easily follow the rule of thirds composition tip and/or line up a standing subject with a vertical grid line. For example, a horizon can be lined up using a horizontal grid line.
Experiment With Filters A La Instagram Style
Tapping the three circles icon at the bottom of the image will bring up the filters. I am not a fan of these, but if you have been a diehard Instagram user since the beginning, filters are probably your thing.
Get Familiar With The iPhone Camera’s Editing Tools
Before posting your photos online or showing them to people, you need to touch them up with editing tools.
Auto-Touch Up
When you open a photo in the Photos app, there is a magic wand icon in the top right-hand corner (after tapping Edit). Tapping that normally improves the photo a great deal without much else needing to be done. There will be the occasional exception when it is not enough.
Cropping
Cropping a photo allows you to remove details from the photo or bring focus to something in it. After taking the photo, look beneath the image, and find a few icons. The cropping tool is the one to the far left (next to the Cancel option).
Tapping will start the cropping process, and you need to use your finger to move the cropping borders in and out. When it’s finished, tap Done in the bottom right-hand corner.
Light & Color
Third, from the left at the bottom is a dial icon. That brings up the color manipulation options. Light, Color, and B&W (black and white).
Tap on the one you want and then slide your finger along to see the picture change in real time. Tap Done when you’re finished to save the changes.
Straightening Up Photos
If you’re convinced the object in the photo is not straight, you can straighten things up by going back into the cropping tool. Look at the bottom of the photo to see a half-curved circle with numbers. Turning that left and right turns the photo. Tap Done when you’re finished.
Conclusion
The iPhone camera has come a long way since the first model back in 2007. Now it’s just as good, if not better, than most digital cameras available on the mark. If you know how to use the features properly – and don’t tell people otherwise – nobody will ever know you used an iPhone to take that amazing photograph. If there is a trick to down-sizing saved photos to less than full megabyte size, that would be worth knowing. I do not use the built-in iPhone mail program. I end up resizing (i.e., resampling) photos in Photoshop Express and emailing the saved Photoshop photo. It is a cumbersome process. Also,if there is a way to see (on the phone) the file name of a photo in the film roll, that would be a tip worth knowing. Thanks again. Comment Name * Email *
Δ Save my name and email and send me emails as new comments are made to this post.
![]()


