Using the ClearType tuning tool you can calibrate the appearance of text in Windows 7 so that it works better with your particular display. According to Microsoft: “With ClearType font technology, the words on your computer screen look almost as sharp as those printed on a piece of paper.”. Ready to take a look and fine-tune your display?
How To Enable and Configure ClearType For Windows 7
Click the Windows Start Menu Orb and then Type in cttune.exe and Press Enter.
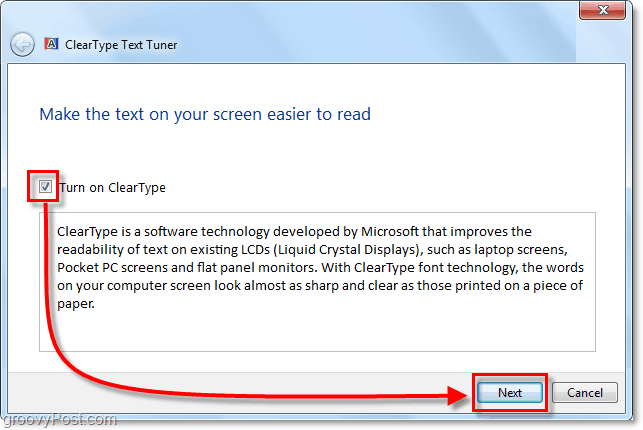
Check the box for Turn on ClearType and then Click Next.
Make sure your monitor is at it’s native resolution. This is the out-of-the-box intended resolution that your screen was designed to be run at. This will vary depending on the size and make of your display. For example, with the laptop I am currently using my default resolution is 1366×768, but my desktop monitor’s is 1680 x 1055. Once you’ve got it native, Click Next. Important Note: If you are running an LCD screen at anything other than it’s native resolution there will always be a slight fuzzy distortion attributed to it’s appearance.
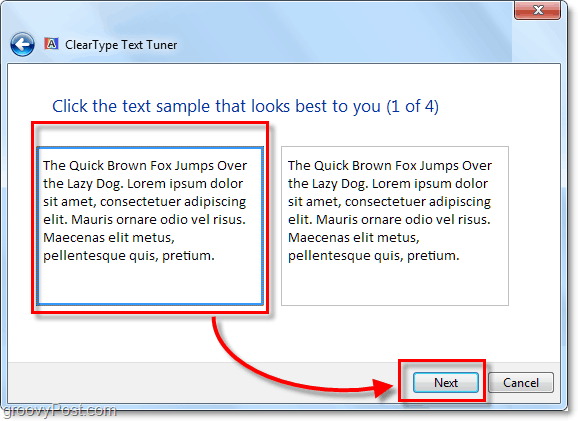
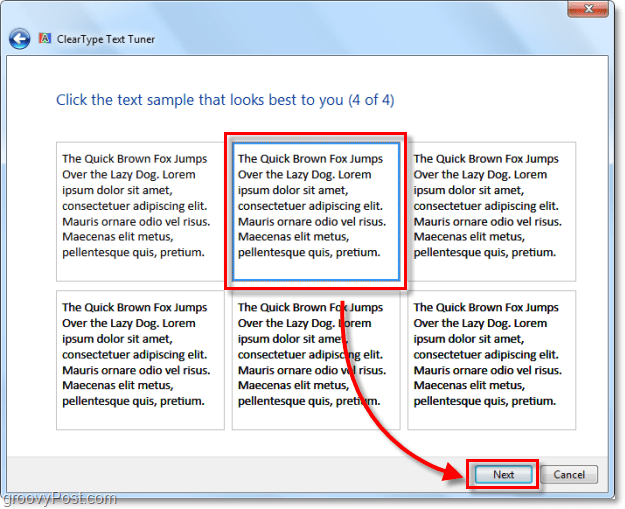
Now you’ll be taken through a series of 4 different windows. Each window will display different boxes of text. You will need to carefully analyze and choose the text which appears best to you on your display. Again which choice looks best will vary depending on which display you are using so the choices shown in the below screenshots are just an example. Enjoy the great lorem ipsum story about the quick brown fox as you go through these! For more lorem ipsum check out the official lorem ipsum blog!
Once you’ve gone through all 4 choice windows, congratulations you are done! Enjoy the groovy new and improved text clarity you’ll experience with Windows 7.
Have a groovy question or comment? Drop us a thought below or start a discussion in the groovyPost community forum! Comment Name * Email *
Δ Save my name and email and send me emails as new comments are made to this post.


