Before we got an official Chrome extension, we showed you an extension from an independent developer called Timeline Support which allows you to get both Firefox and Chrome activity on Windows Timeline. But now we have an official extension from Microsoft. Here’s a look at how to get started and what you can expect.
How to Use Windows 10 Timeline Chrome Extension
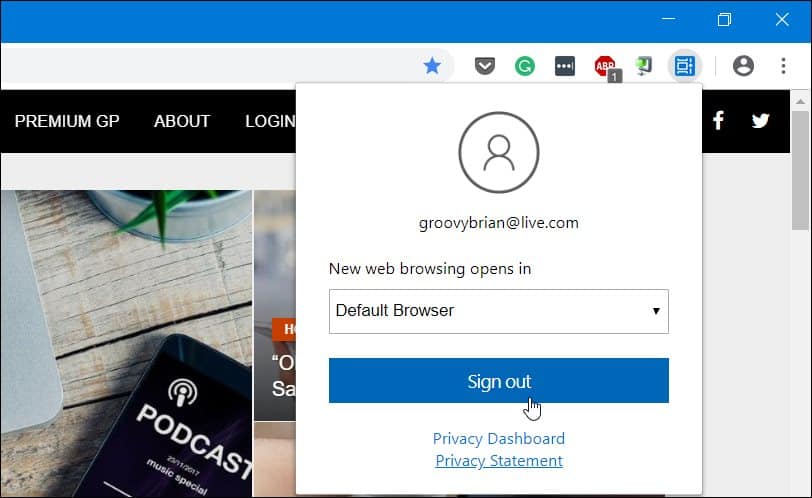
Download the official Windows 10 Timeline Chrome extension which is called Web Activities from the Chrome Web Store. After installing the extension, you will need to sign into your Microsoft account and give it permission to access your account information.
After logging in and granting permissions, the extension icon will turn blue and start tracking the websites you visit in Google Chrome and making it visible on your Timeline.
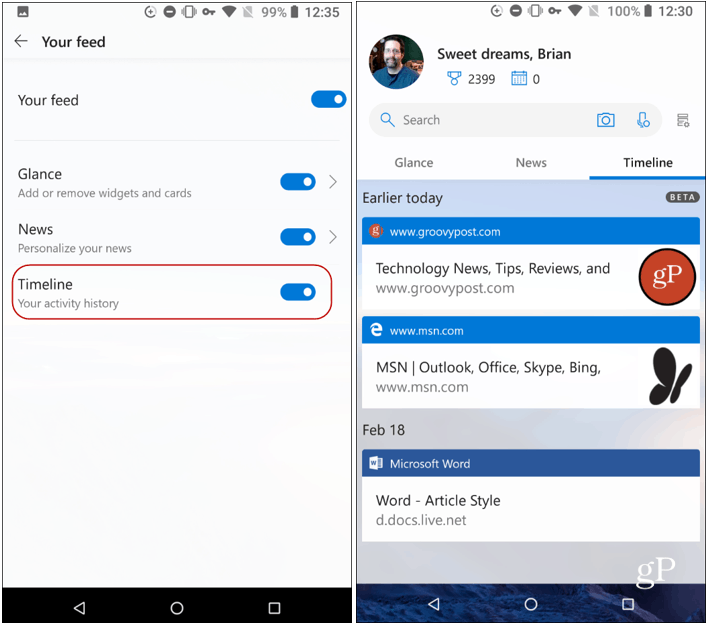
It’s also worth noting that if you use the Microsoft Launcher on your Android device, your Chrome activity will be synced to its Timeline activity section as well. On your phone, head to Launcher Settings > Your Feed and toggle on the Timeline switch. Then you will see your PC Timeline activity – including from Chrome and Edge.
To make sure your Timeline history is syncing between machines, you need to make sure Activity History is enabled on each machine and the proper Microsoft account. You can turn it on or off by heading to Settings > Privacy > Activity History. And if you want to stop syncing your Chrome activity, click the extension’s icon and then sign out.
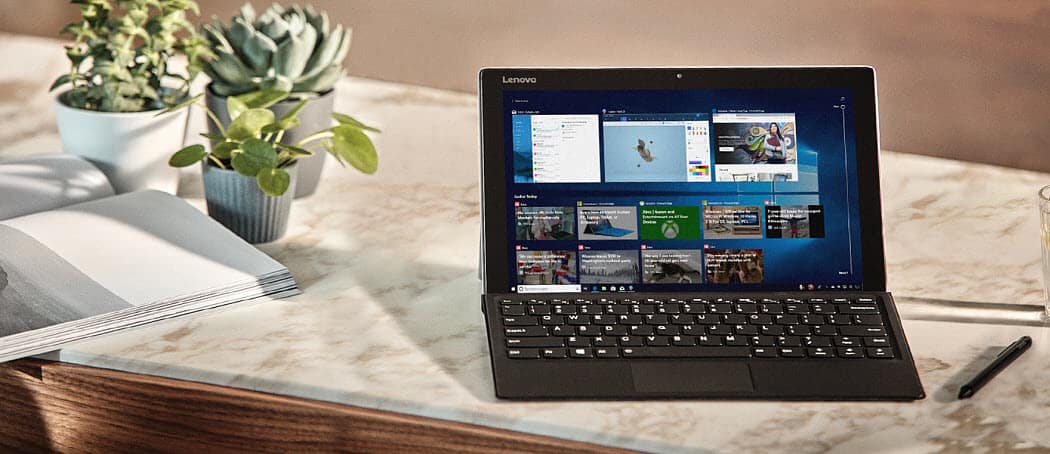
That’s all there is to it. With the extension installed, it will be easier to pick up on older activities you were doing on different machines that also support Timeline. Of course, to access Timeline you need to be running Windows 10 1803 or above and can either click the “Task View” link on the taskbar or hit Windows Key + Tab.
![]()


