Aside from all of the new advanced features of Photoshop CS6, there are also a few smaller ones which are special in their own way. Let’s take a look at one of the feature which falls into the exact same category – Oil Paint.
Loading an Image
This effect works nicely with just about any image. The best way to try it out is to chose a high-resolution image with a good amount of detail. Here’s the image that I will be using – feel free to use the same as you follow along the tutorial.
Getting to the Oil Paint Features
To get to it, click the Filter menu and chose Oil Paint. Unlike some other options like Liquify, the Oil Paint one doesn’t have it’s dedicated keyboard shortcut. Nevertheless it’s safe to say you probably won’t need one, because you won’t be using it too often.
Adjusting the Oil Paint Settings
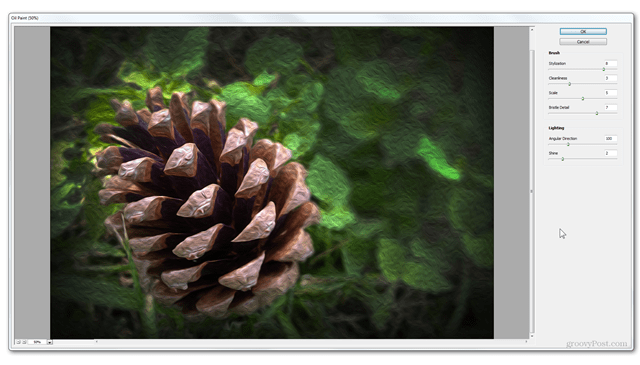
Once you click on Oil Paint, the following window should appear.
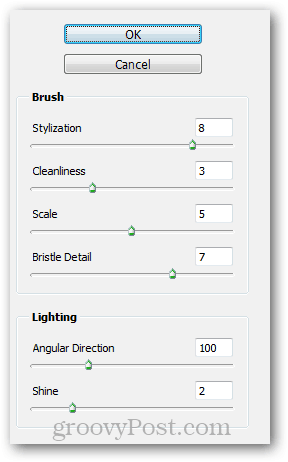
From the sliders on the right side you can adjust the four different settings for the Brush and the two different settings for the Lighting.
Applying Oil Paint Filters
Play around with these until the result looks just the way you want it to. Then you can apply the effect by clicking OK. The final result may take a while to render depending on the quality and resolution of the image, but it usually doesn’t take more than a few seconds.
Here are a few quick comparisons so you can see what the effects are and decide if you like them. Here’s a look at a couple of examples.
And a quick comparison between the different shine levels you can set from the Lighting options of the filter:
Conclusion
The Oil Paint filters feature is a creative and original idea for image editing, and it’s a fresh idea to keep in your Photoshop arsenal. Here’s a look at the step-by-step video below:
If you have any questions or recommendations on this or any other of our groovy Photoshop guides, definitely shoot me and email or leave a comment below! Comment Name * Email *
Δ Save my name and email and send me emails as new comments are made to this post.


