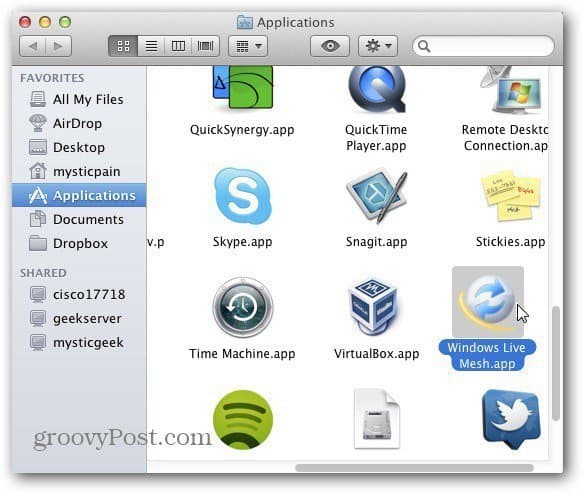
First, download and install the latest version of Windows Live Mesh for Mac. In this example, I’m installing it on my Mac running OS X Lion 10.7.3. Launch the .dmg file and drag the Live Mesh icon into the Applications folder.
Open the Applications folder and double click the Live Mesh icon.
Now enter in your Windows Live ID username and password. Check all three options to remember your credentials and sign in automatically. Click Sign In.
Windows Live Mesh for Mac launches. You’ll see a list of your synced folders, computers and SkyDrive. To sync data from your Mac, click the Sync a Folder button at the bottom of the window.
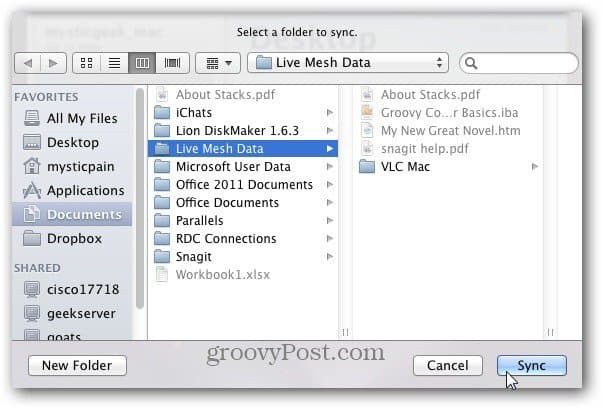
Now browse to the location of the folder you want to sync on your Mac.
Next select the systems you want to sync your Mac’s data with. Here I ‘m selecting my main PC and SkyDrive. Click OK.
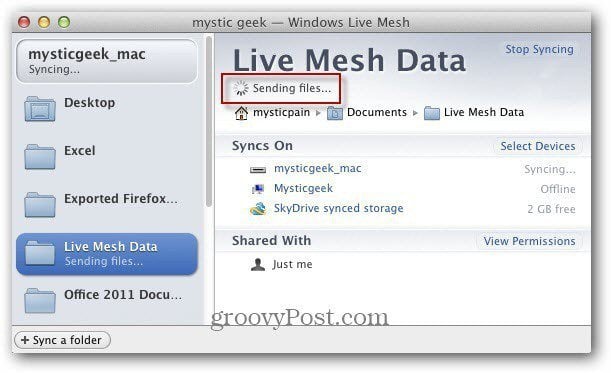
A Sending Files notification appears while the folder is synced to SkyDrive and the Windows computer.
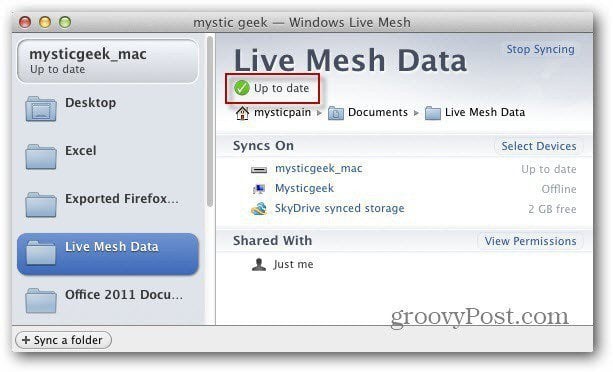
All done. Sync is complete. You’ll see a green checkmark icon with the message Up to Date.
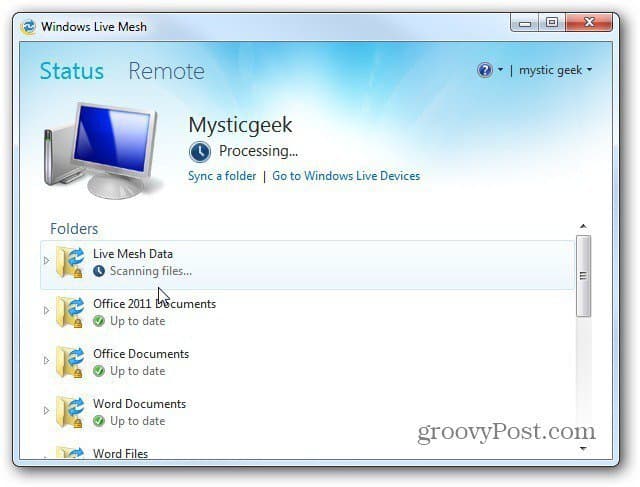
Here I’m logged into the Windows machine I synced the Mac folder with. Launch Windows Live Mesh if it’s not already running and you’ll see the folder is syncing.
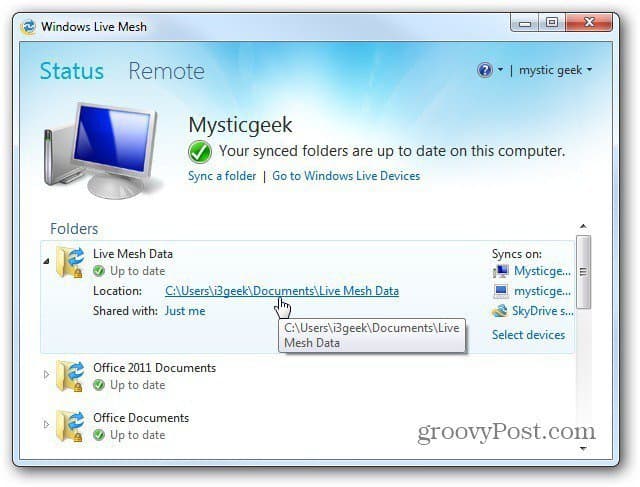
When it’s complete, click on that folder. Then click the link to bring you to the directory it’s located in.
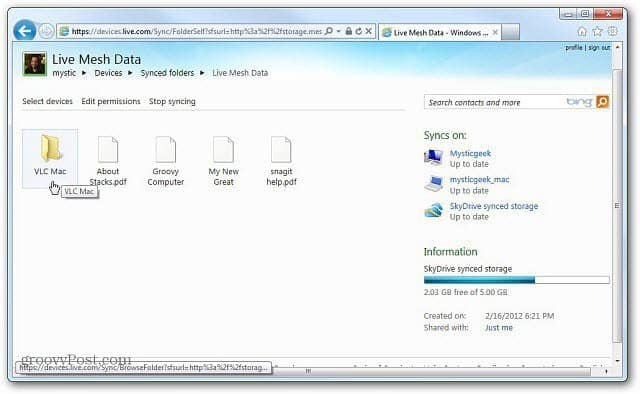
There you’ll find folder and files you synced from the Mac.
Note: The My Documents directory on this machine is also being backed up to the cloud via Carbonite. This adds extra peace of mind knowing files are backed up to multiple locations. Log into your SkyDrive account – works best in Internet Explorer 9, and you’ll see the files from the Mac have been backed up here as well.
Comment Name * Email *
Δ Save my name and email and send me emails as new comments are made to this post.

